AR Clip Mapper
AR Clip is the all-in-one WebAR viewer that works without installing an app and doubles as the capture tool for WebAR³ VPS maps.
Getting started
- Install the app from the App Store: https://apps.apple.com/us/app/ar-clip/id6742754238
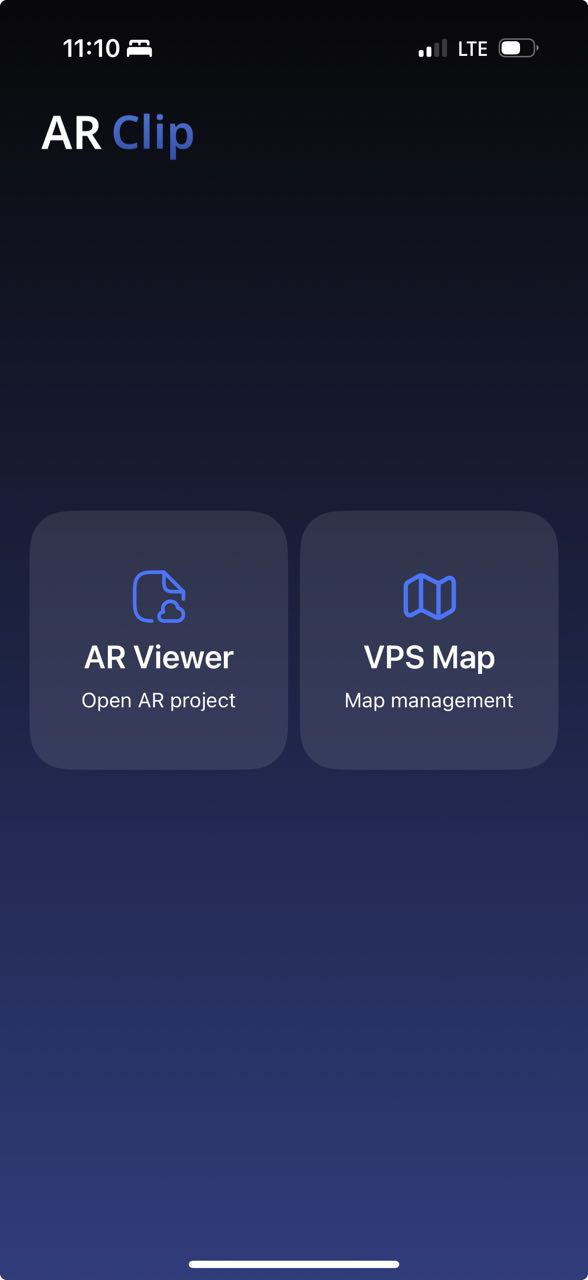
LiDAR is not required. The Android app is available, while map capture is still in development. - Launch the app and tap VPS Map to open the capture workflow.
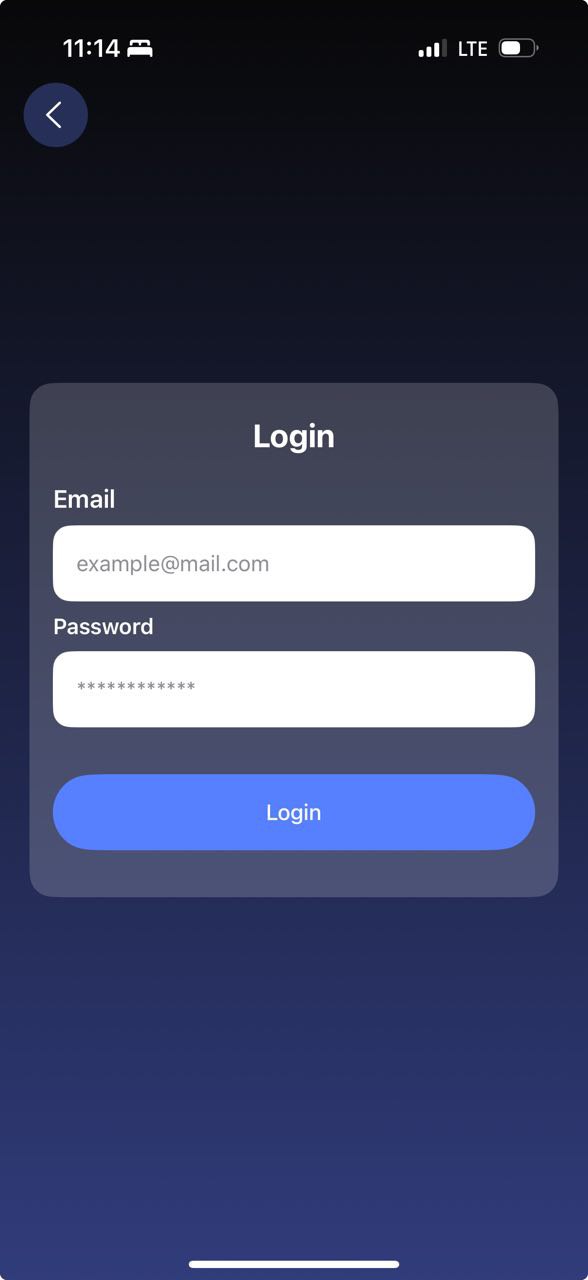
Sign in
- Sign in with the credentials you received on space.web-ar.studio.
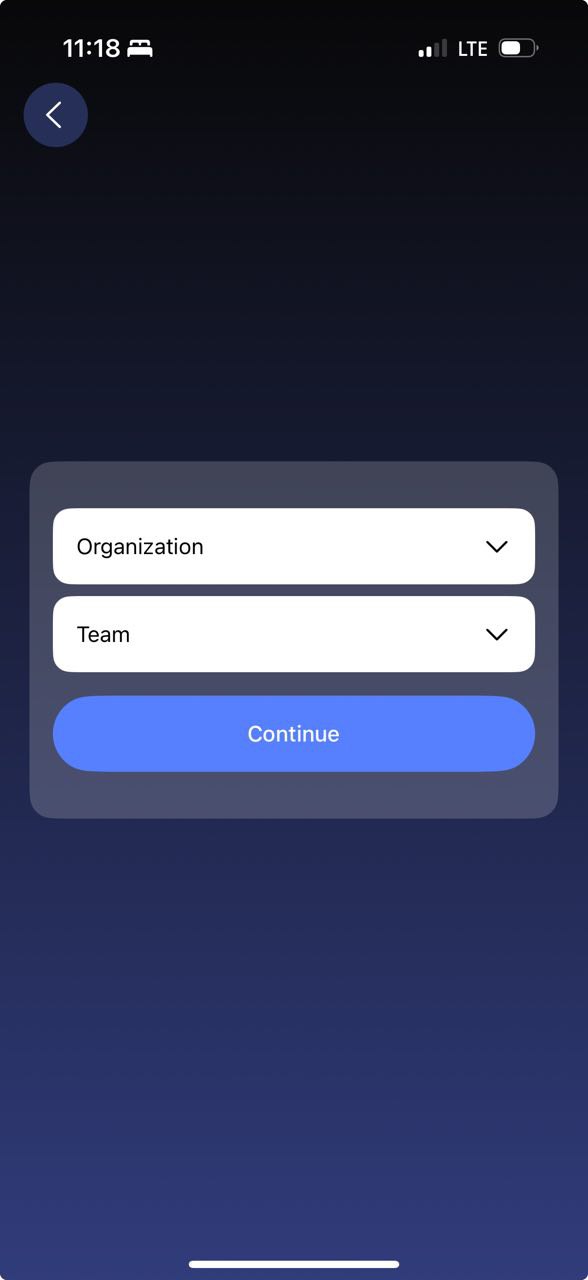
- Pick your organization and team.
Create a new map
The home screen lists every map along with its status, title, ID, and creation time.
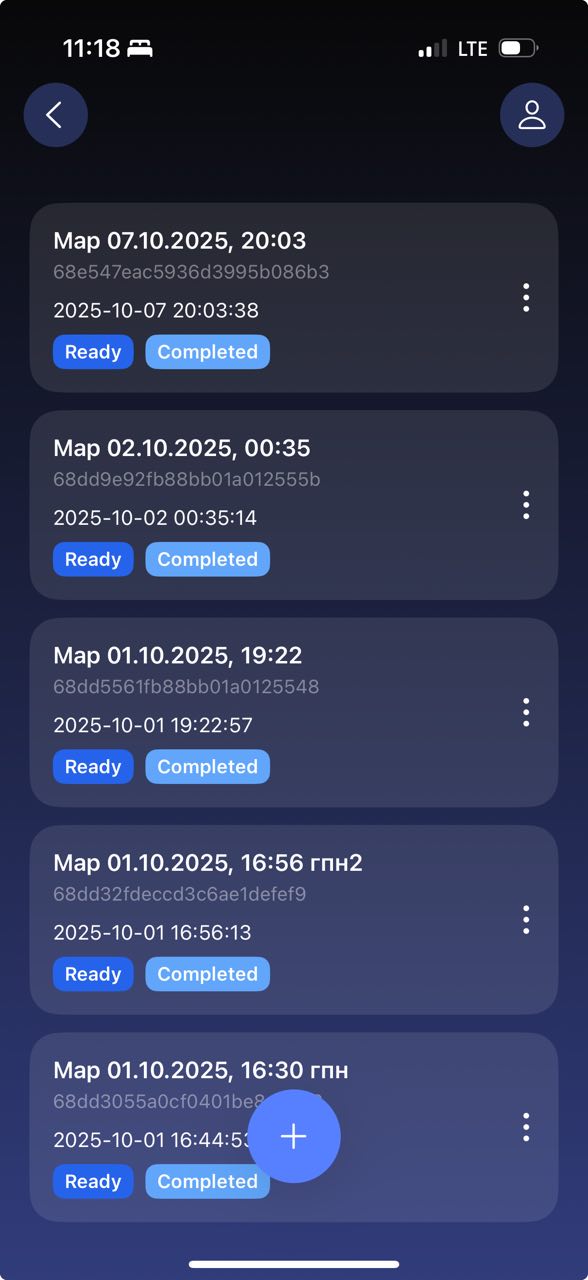
Tap the plus action at the bottom to start a new map. Grant camera access — a dialog displays the current GPS accuracy.
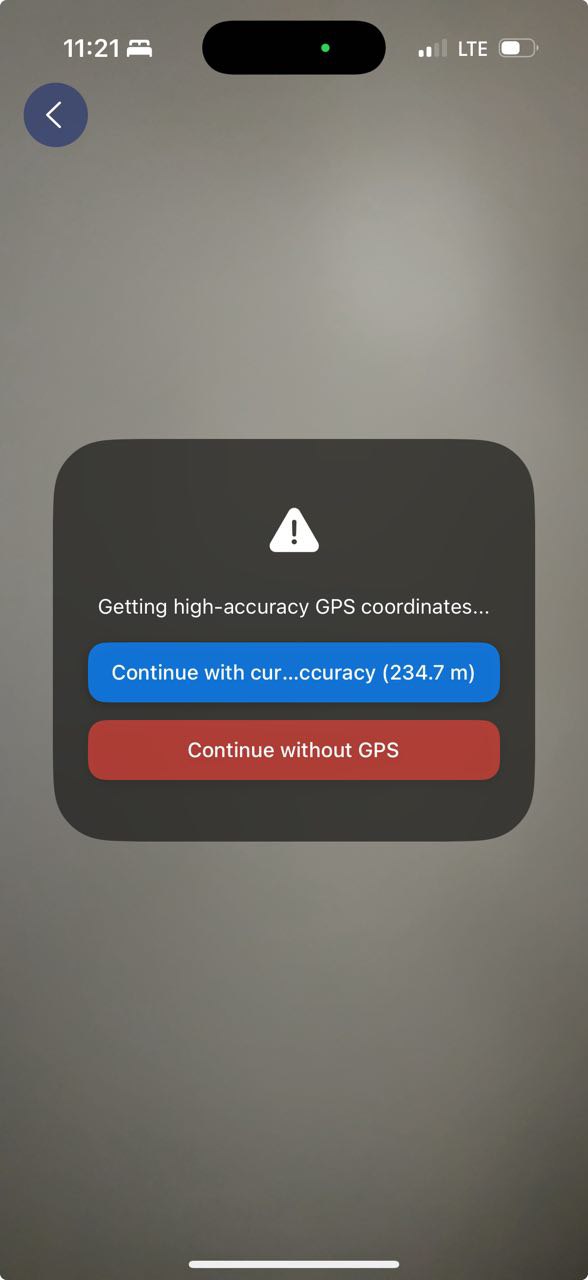
GPS precision is optional. If the accuracy is worse than 50 m, tap “Continue without GPS.” Waiting briefly or walking around can improve the reading.
Choose one of two capture modes:
- Real-time mode — frames are captured automatically every second.
- Manual mode — you trigger each capture manually.
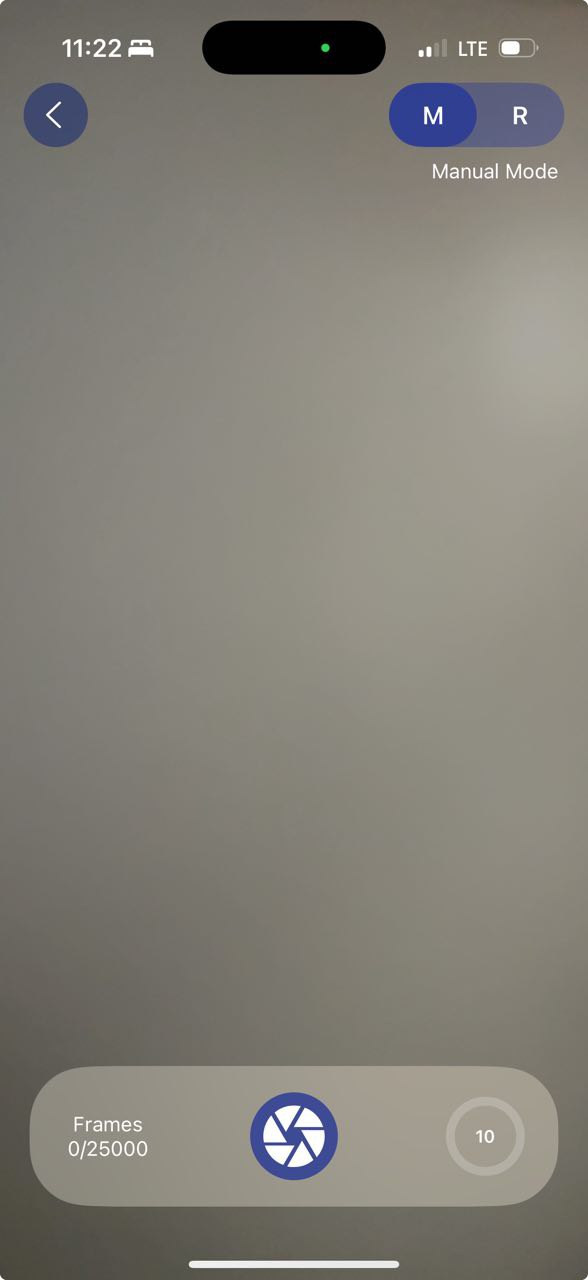
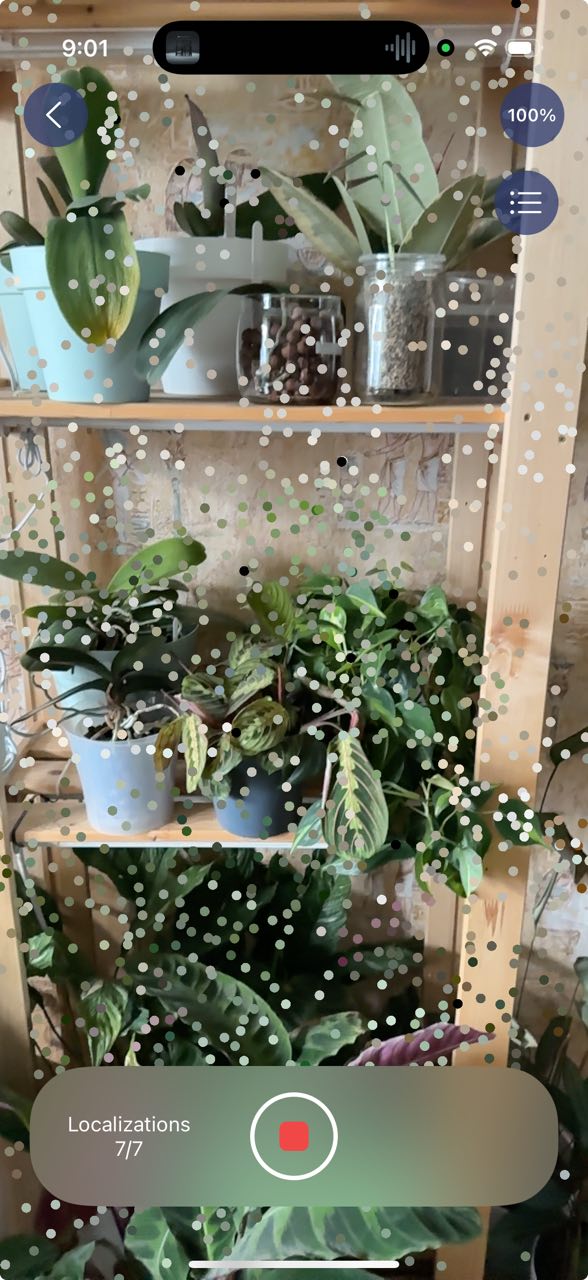
Move the device slowly while capturing. You will see feature points—their density gives a fast indication of scene texture.

When you are done, tap Finish to upload the capture to the server.
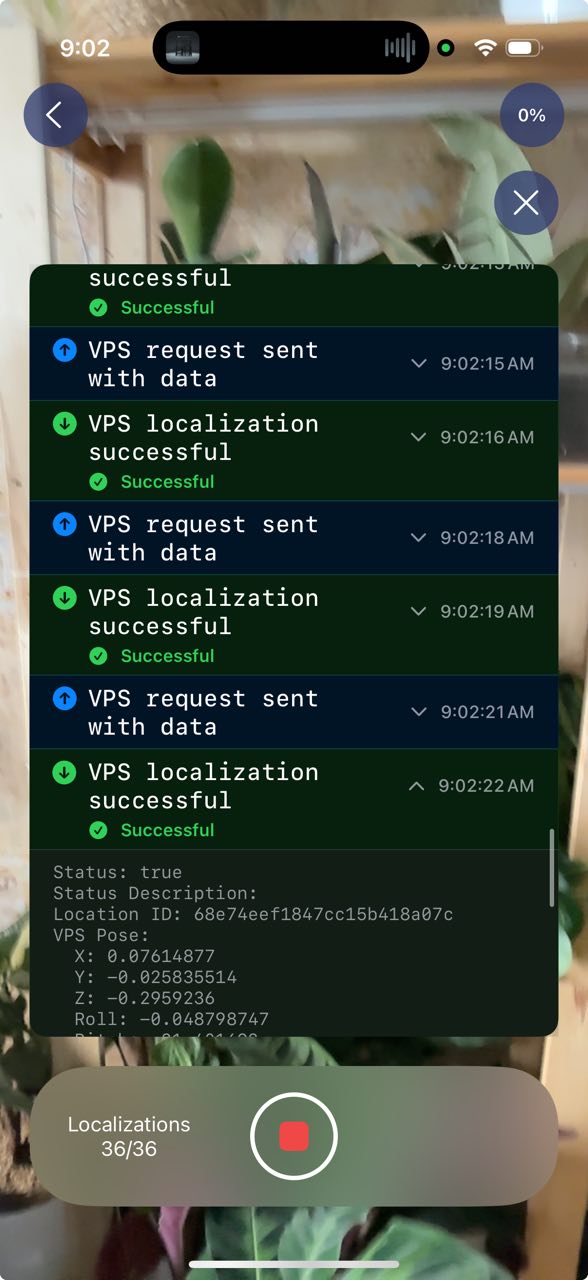
Test localization and reconstruction quality
Open the context menu on any map.
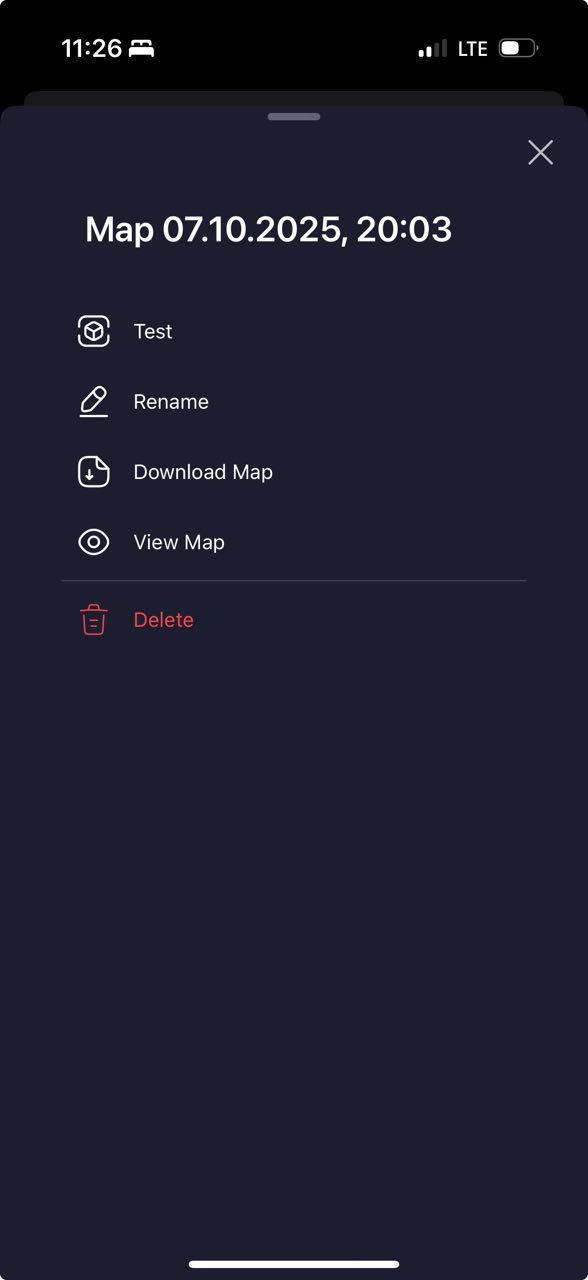
Review reconstruction density by choosing View Map → PLY.
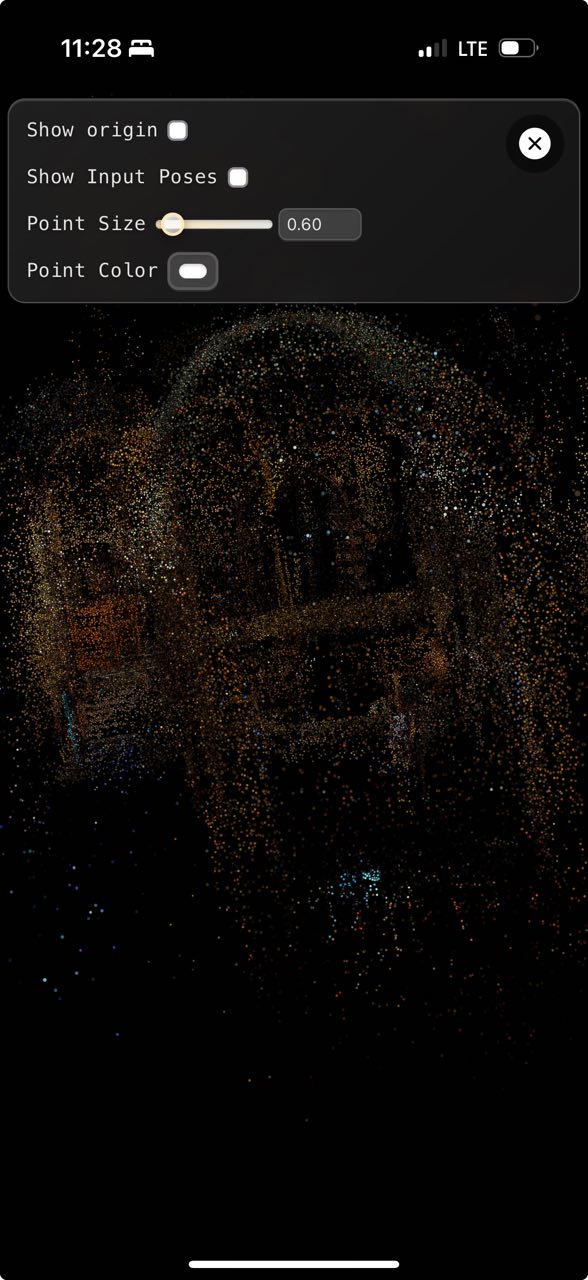
To validate localization, tap Localization Test and aim the camera at the captured area.
Adjust point cloud opacity and inspect logs as needed.